

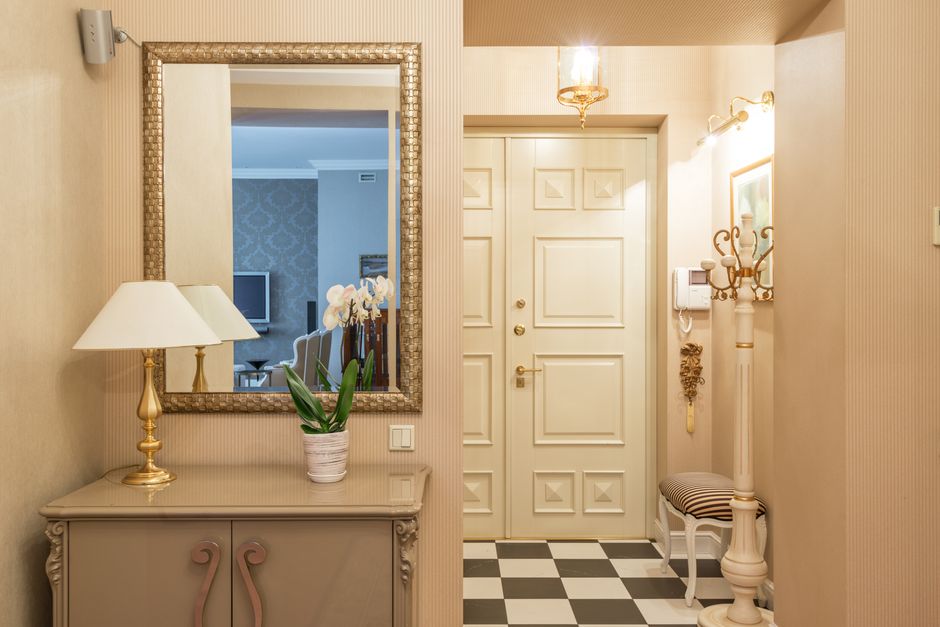
Shoes on the hallway floor are rarely a shoe problem alone. They block the walking path, collect dust, and turn the entrance into a daily negotiation. The fix is a storage system that uses vertical wall space while keeping the pair you wear most within easy reach.
How Much Wall Space Does a Shoe Rail Need?
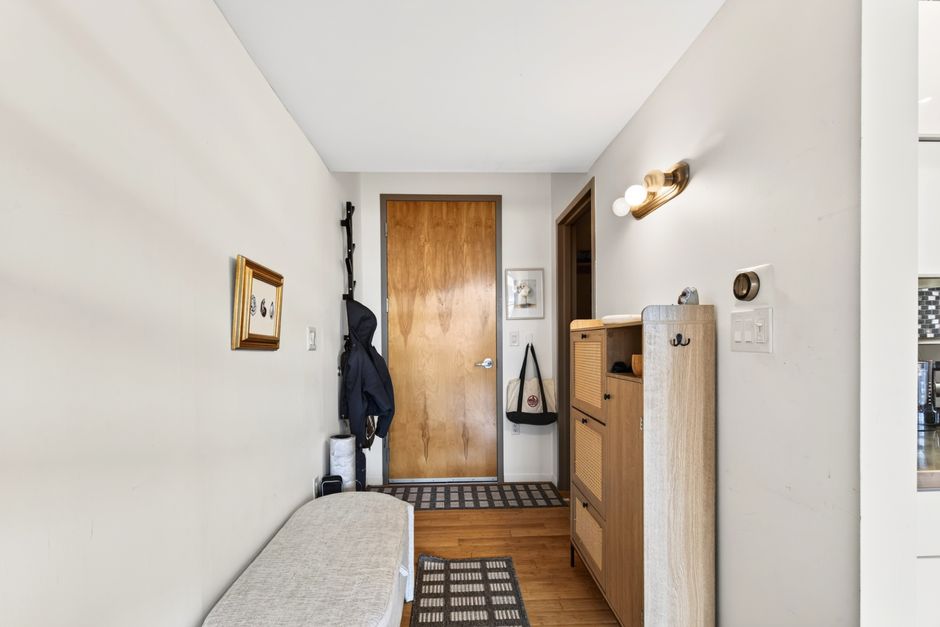
Measure the hallway before shopping. The useful number is not the wall length; it is the uninterrupted wall length after doors, switches, trim, and radiator clearance are removed. Leave at least 4 inches from a door casing and enough room for a coat or bag to hang without hitting the door.
| Hallway condition | Recommended rail width | Practical shoe capacity | Best layout |
|---|---|---|---|
| Very narrow, under 34 inches wide | 16 to 24 inches | 1 to 2 pairs | One short rail with a slim shoe bag |
| Standard apartment entry | 24 to 36 inches | 2 to 4 pairs | Hooks above a 6 to 8 inch deep basket |
| Family hallway | 36 to 48 inches | 4 to 6 pairs | Two height zones or two separate rails |
| Wide entry with spare wall | 48 to 60 inches | 6 to 8 pairs | Long rail above a narrow shoe cabinet |
Use depth as the first buying filter
A wall basket or shoe cabinet that projects 12 inches can still work beside a wide entry, but it is a poor choice beside a bathroom door or stair landing. Mark the proposed depth with painter’s tape and walk past it several times before drilling.
Leave clearance for real footwear
Allow 2 to 3 inches of air above a basket so shoes can be lifted out without scraping the rail. Allow more for boots. A 10-inch-tall boot needs a lower shelf or open cubby; a hook-and-basket system designed around sneakers will not handle it cleanly.
Bottom Line: a 24- to 36-inch rail is the safest starting size for most apartments, but the correct depth matters more than the advertised number of hooks.
How to Install Hallway Hooks Without Losing the Wall
Installation quality decides if the system stays useful after six months. A rail that tilts, loosens, or leaves a large hole behind it becomes another household repair job. Spend more time finding the fixing points than choosing the finish.
- Map the wall. Use a stud finder or tap test, then mark electrical outlets, switches, door swings, and trim. Do not drill directly above or below an outlet without checking the likely cable route.
- Set the height. Place the main rail around 60 inches from the floor for adult use. If children use it, add a lower rail around 36 to 42 inches rather than forcing everyone to reach the same height.
- Test the load location. Hold the rail in place with painter’s tape and hang the heaviest expected bag. Open and close nearby doors. Check that the bag does not hit the knob or block the light switch.
- Use the right anchor. A stud screw is the strongest option. For hollow drywall, use a rated toggle or metal hollow-wall anchor that matches the rail’s mounting holes. A basic plastic plug is a weak choice for a rail carrying several bags.
- Level before tightening. Check the rail left to right and front to back. Tighten each fixing gradually so the rail does not twist and place side force on one anchor.
- Load it slowly. Start with one or two pairs of shoes and one bag. Recheck the screws after a week. If the rail moves, remove weight and fix the mounting before adding more storage.
Adhesive hooks have a narrow use case
Adhesive hooks work for slippers, lightweight shoe bags, or a single child-sized backpack on a smooth, clean surface. They are a bad choice for wet shoes, heavy boots, textured plaster, or a rail that must hold several bags. Humidity and repeated pulling reduce their margin of safety.
The most common mistake is choosing a rail by hook count. Six hooks do not mean six safe storage positions if the backing plate has only two small anchors. A five-hook rail securely fixed at three points is usually safer than a longer rail fastened at two weak points.
Verdict: anchor the rail to studs where possible, use proper hollow-wall hardware where necessary, and treat adhesive hooks as light-duty accessories rather than structural storage.
Which Hallway Rails and Shoe Storage Pieces Are Worth Considering?

Product names matter here because construction quality, width, and mounting hardware vary sharply. Prices below are useful 2026 budget references, not promises that every retailer will charge the same amount.
Best low-cost rail: IKEA TJUSIG Wall Rack
It suits a small apartment entry where the main need is to lift slippers, shoe bags, and light coats from the floor. The wood finish is easy to repaint, but the included fixing approach may not match every wall type. Use stronger anchors when the wall is hollow drywall.
Best design-led compact option: Umbra Sticks Multi Hook
The Umbra Sticks Multi Hook is about 19.5 inches wide and uses five folding pegs. It looks less like utility hardware than a standard metal rail, which makes it a good pick for a visible entryway. The pegs are better for light shoes in small bags than for heavy boots. For a narrow hallway, this is my clear style winner.
Best premium small-space pick: Yamazaki Home Tower Wall-Mounted Coat Hanger
Its strength is the compact profile, not high capacity. It works above a narrow shoe cabinet or basket, where the hooks handle daily pairs and keys while the lower unit carries the footwear.
Best paired shoe cabinet: IKEA TRONES
The IKEA TRONES shoe cabinet comes as a two-pack, with each unit about 52 cm wide, 18 cm deep, and 39 cm high. It is not a rail, but it solves the part hooks cannot: keeping shoes enclosed and visually quiet. The shallow depth makes it the best companion for a tight passage.
Best simple family rail: Franklin Brass 5-Hook Wall Rack
It offers a familiar layout for coats, bags, and shoe sacks. Check the exact mounting plate and weight rating before purchase because the product line includes several similar models.
Bottom Line: choose the IKEA TJUSIG for the lowest-cost utility setup, Umbra Sticks for visible design, Yamazaki Tower for a compact premium finish, and IKEA TRONES when enclosed shoe storage matters more than extra hooks.
What Is the Best Setup for Each Hallway Budget?
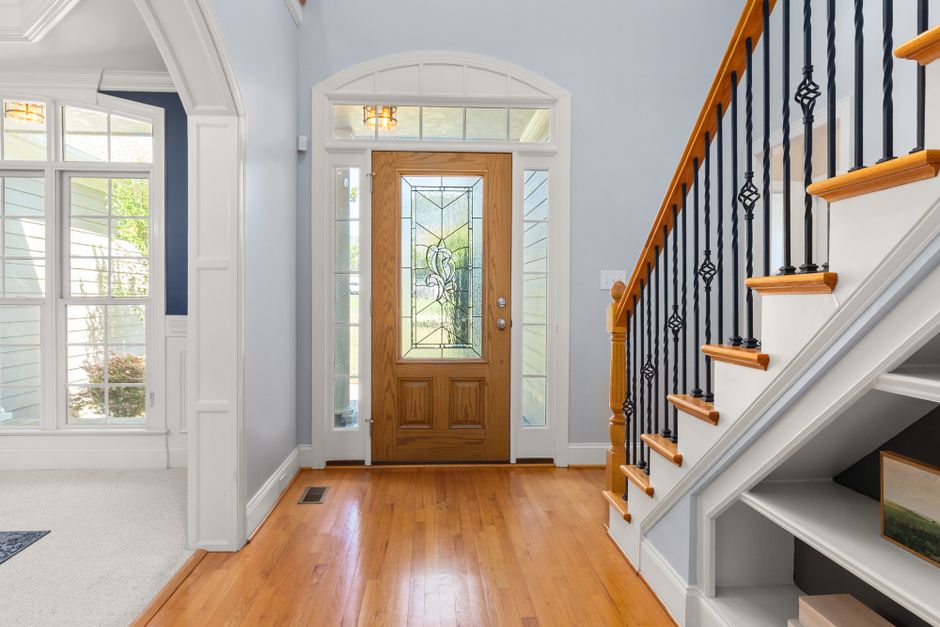
My clear recommendation is the shallow two-layer system: a 24- to 36-inch rail above a low-profile shoe cabinet or open basket. The rail handles keys, bags, and one daily pair in a shoe sack; the lower unit handles the footwear. This split keeps the wall useful without asking one product to solve every storage problem.
This is the strongest value for renters or first apartments, provided the wall can take proper hardware. For a family, add a second low hook row only if the first rail has safe fixing points.
This is my best overall setup for a small hallway because the cabinet hides visual clutter while the rail keeps daily items accessible.
When financing makes no sense
A hallway system is normally a cash purchase, not a reason to borrow. Compare the total repayment, not the monthly figure. This is not financial advice.
Do not buy the premium Yamazaki Tower rail simply because a product photo shows a calm hallway. The expensive mistake is buying attractive hardware without a plan for the shoes below it.
Bottom Line: for most homes, the best buy is a securely mounted 24- to 36-inch rail paired with shallow shoe storage, with IKEA TRONES and Umbra Sticks forming the strongest mid-budget combination.
The single most important takeaway is to give daily shoes a defined vertical home that is easier to use than the hallway floor.