

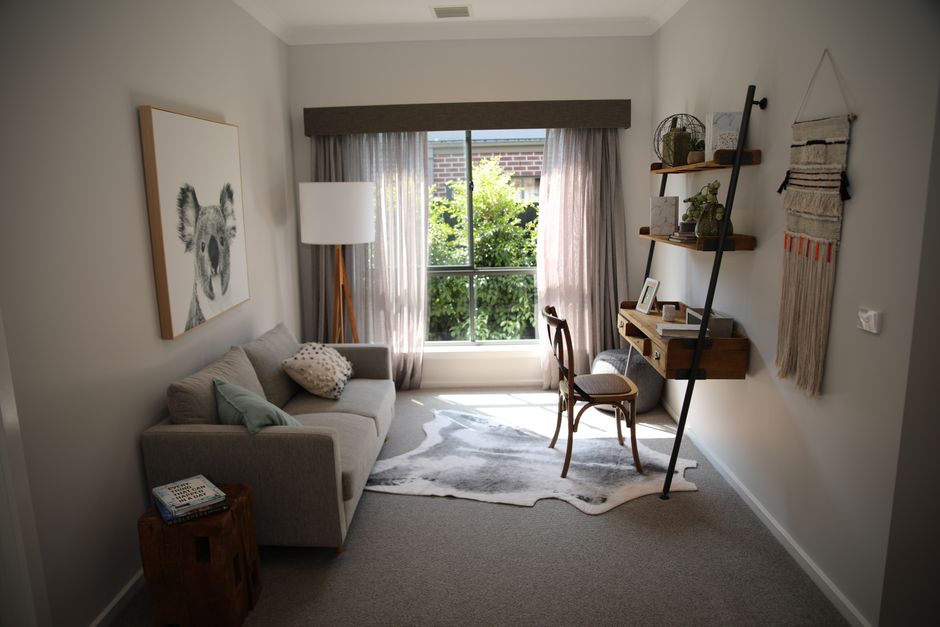
$43 and one Saturday afternoon. That’s the real cost of a two-shelf floating unit that looks like it came from a design-forward shop — not the bargain bin. The catch is knowing exactly where to spend and where cutting corners kills the final result.
What the $50 Budget Actually Covers
Here’s the full materials list for two 36-inch floating shelves, each 8 inches deep, fully finished and ready to hold real weight.
The Full Materials List with Realistic Prices
| Item | Spec | Source | Cost |
|---|---|---|---|
| 1×8 select pine board (×2) | ¾” thick, 7.25″ wide, 8 ft long | Home Depot / Lowe’s | $12–$16 each |
| Floating shelf brackets (×4) | 8″ depth, 50-lb rated | Amazon or Menards | $3–$5 each |
| Sandpaper pack | 120-grit and 220-grit sheets | Any hardware store | $4 |
| Minwax Early American stain | ½-pint can, covers 30+ sq ft | Home Depot | $9 |
| Drywall toggle anchors + screws | 50-lb rated, ½” drill size | Home Depot | $5 |
| Total (two shelves) | 36″ wide × 8″ deep, stained and mounted | $39–$53 | |
The range depends on whether pine boards are on sale — Home Depot marks 1x8x8 select boards down regularly throughout the year. If you already have sandpaper, stain, or a half-used can of polyurethane in the garage, the out-of-pocket drops closer to $28.
Where You Can Cut Without Noticing
The bracket brand doesn’t matter. Generic 8-inch floating brackets from Menards or Amazon at $3–4 each hold just as well as the $12 designer versions from specialty hardware sites. What does matter is the weight rating — get brackets rated for at least 50 lbs each, regardless of brand.
Drywall anchors are another spot where generic wins. The Hillman Group toggle bolt packs at $4–5 from any hardware aisle are identical in real-world performance to branded versions at twice the price. Nobody needs premium anchors for shelves.
Where you should not cut: the lumber itself. Select pine costs $2–4 more per board than common grade, and that difference shows up in the finished surface every single time you look at it.
Picking the Right Lumber — Where Most First Builds Go Wrong
This decision shapes everything else. Get it right and the shelf looks intentional. Get it wrong and no amount of stain or sealer fixes a board that’s cupped, knotted, or bowing under load.
Pine vs. Poplar vs. MDF
Select pine is the right call for most floating shelves. It cuts cleanly, takes oil-based stains like Minwax Early American without blotching, and a 1x8x8 board from Home Depot runs $12–16. Strong enough for books, plants, and kitchenware — everything a typical shelf holds.
Poplar costs $18–22 for the same length and is stiffer than pine. The problem: poplar’s grain doesn’t absorb stain evenly, so it looks blotchy and inconsistent unless you apply a wood conditioner first. If you’re painting the shelf white or going for a clean built-in look, poplar is worth the extra few dollars. If you’re staining, pine gives a cleaner result every time.
MDF is a trap for floating shelves. It’s cheap ($10 for a half-sheet), machines smoothly, and paints beautifully. But MDF sags under its own weight at 36 inches without a center bracket — add a row of hardcover books and you’ll see a visible bow within six months. Skip it for anything over 24 inches or carrying real weight.
How to Pick a Board at Home Depot
Spend five minutes at the rack before deciding. Pull several boards and check three things:
- No cup or bow — set the board on a flat surface and see if it rocks
- No knots in the center third of the board — edge knots are structurally fine, center knots are weak points
- Relatively straight grain along the length — wild grain patterns twist more after the board adjusts to your home’s humidity
Always buy boards 6–8 inches longer than your finished shelf length. The end-grain cut from the lumber yard is often ragged or chipped, and the extra length lets you trim to a clean face on both ends.
The 48-Hour Acclimation Rule
Bring pine boards inside your home and let them sit flat for 48–72 hours before cutting. Pine absorbs moisture from ambient humidity. A board that goes straight from a cold Home Depot lumber shed to a warm living room without adjusting can twist or cup after it’s already mounted on the wall. This step costs nothing and prevents a genuinely frustrating outcome.
Build and Mount: 6 Steps That Cover the Full Process
These steps work for standard drywall walls with wood studs. Plaster walls and concrete need different anchors and bits, but the sequence below is the same.
- Sand the boards. Start with 120-grit across the full surface, finish with 220. Wipe dust with a tack cloth before staining. Skipping 220-grit is why some shelves look slightly rough next to a clean, painted wall.
- Stain and seal. Apply Minwax Early American with a foam brush, wipe the excess after 5–10 minutes, and let it dry for 2 hours. Follow with one coat of Varathane water-based polyurethane for protection. Let it dry overnight before mounting — polyurethane needs 8 hours to fully harden.
- Find your studs. Use a Zircon StudSensor e50 ($15 at Home Depot) or knock on the wall and listen for the solid thud versus the hollow sound. Mark each stud with painter’s tape. Each shelf should hit at least one stud — two is better for anything holding more than 15 lbs.
- Mark bracket positions. Hold each bracket flat against the wall at the right height. Use a level to confirm it’s perfectly plumb before marking all screw holes with a pencil. Eyeballing this step costs you a crooked shelf.
- Drill and mount brackets. Into studs: use a 3/32″ pilot bit. Into drywall with toggle anchors: check the anchor package for the correct drill size — most toggle anchors need a ½” hole. Drive screws until snug, not tight. Overtightening on drywall strips the anchor and weakens the hold.
- Set the shelf and check level. Slide the board onto the brackets. Place a 48-inch level on top. If the shelf is slightly off, loosen the low-side bracket screws and slip a folded business card behind the bracket as a shim before retightening. Small adjustments make a visible difference at eye level.
Total installation time for two shelves, once the brackets are staged: 40–50 minutes.
The One Mistake That Ends With a Hole in Your Wall
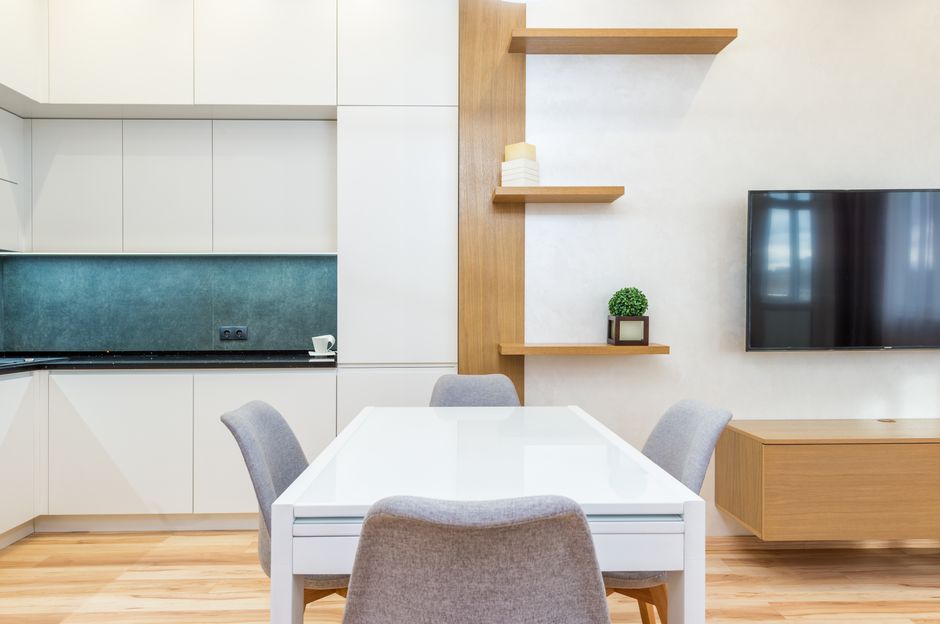
Mounting every bracket into drywall alone — no studs — and trusting toggle anchors to carry real weight. Three photo frames and a small plant? Fine. A row of hardcover books or a cast-iron pot? You’ll be patching a 4-inch hole within a year. Always anchor at least one bracket per shelf directly into a stud. The toggle anchors are backup, not the main support.
Building vs. Buying: When IKEA Wins and When It Doesn’t
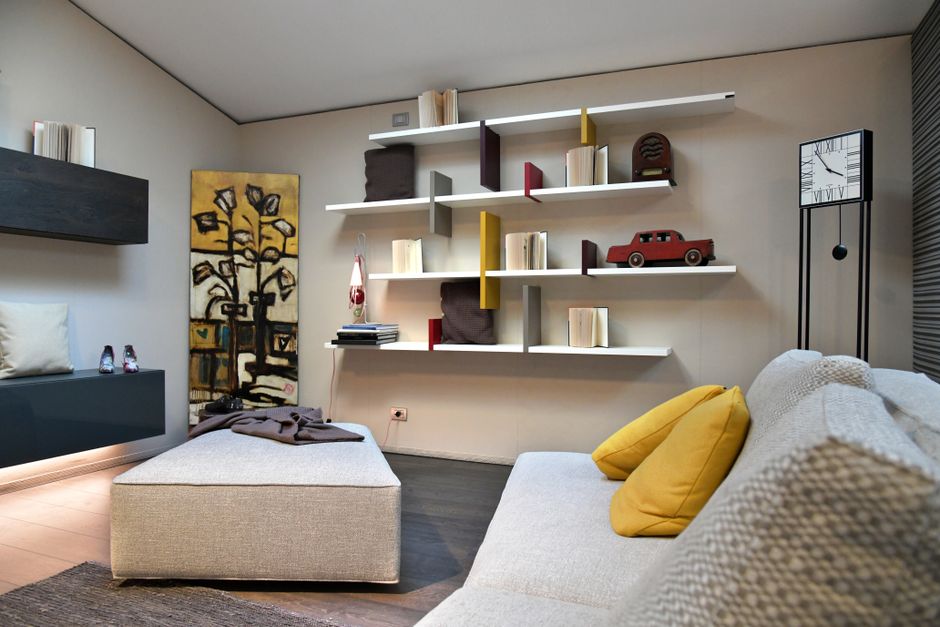
The honest answer is that IKEA wins on simplicity for most people. DIY wins on customization and per-unit cost at scale. Here’s exactly where each one makes sense.
IKEA LACK: The Cheap Option With Known Limits
The IKEA LACK shelf costs $9.99 and comes in four colors. For a 43-inch shelf holding photo frames or light decor, it’s nearly impossible to beat on price. The problems: a 22-lb weight limit, a particleboard core that sags under books, and a generic look that won’t match custom wall paint or a specific stain color you’re working with elsewhere in the room.
IKEA BERGSHULT + GRANHULT: The Real Competition
This system is a genuine alternative to DIY for most people. The IKEA BERGSHULT shelf (59-inch, $35) has a wood-veneer surface over a solid core and holds 33 lbs. Pair it with two GRANHULT brackets ($10 per pair) and you’re at $45 for a shelf that looks legitimately good. If you don’t want to cut, sand, and finish wood yourself, this is the honest trade-off I’d recommend for a single shelf.
Four Reasons to Build Instead
- You need a non-standard depth — deeper than 10 inches, or a very narrow 4-inch ledge shelf that no retail line stocks
- You want a stain color that matches existing furniture, which IKEA’s limited palette won’t provide
- You need shelves longer than 48 inches without center supports or visible seams
- You’re building four or more shelves — at that volume, your per-unit cost drops to $15–18 each, well below anything available in a store at equivalent quality